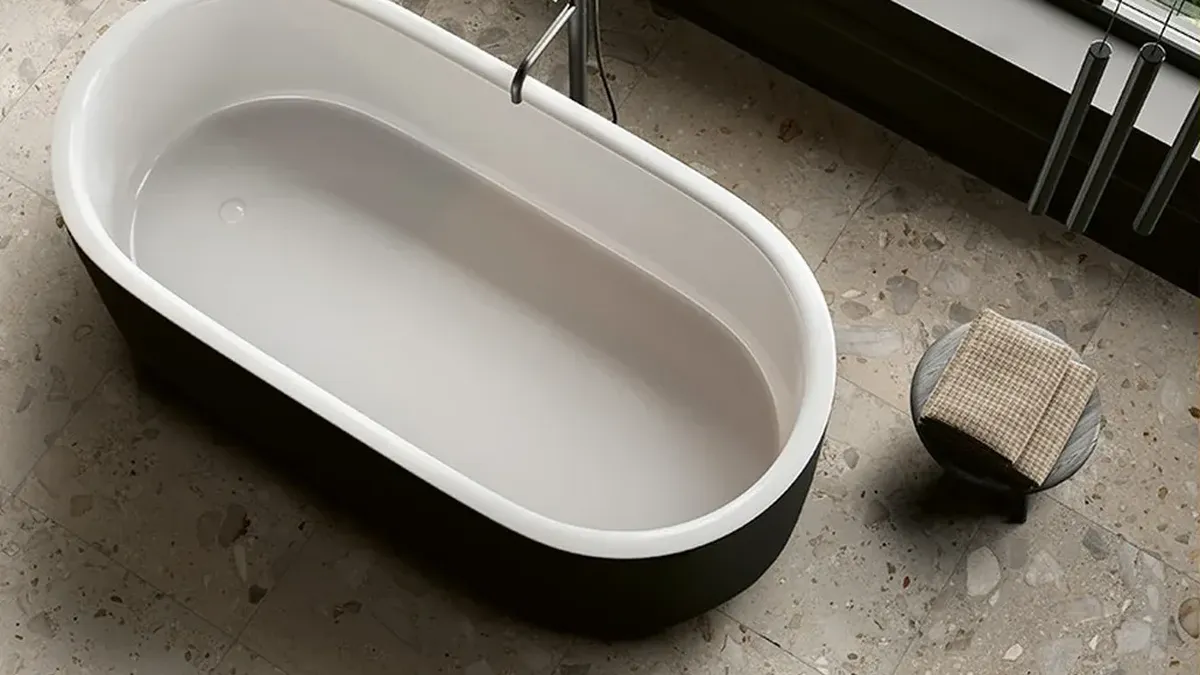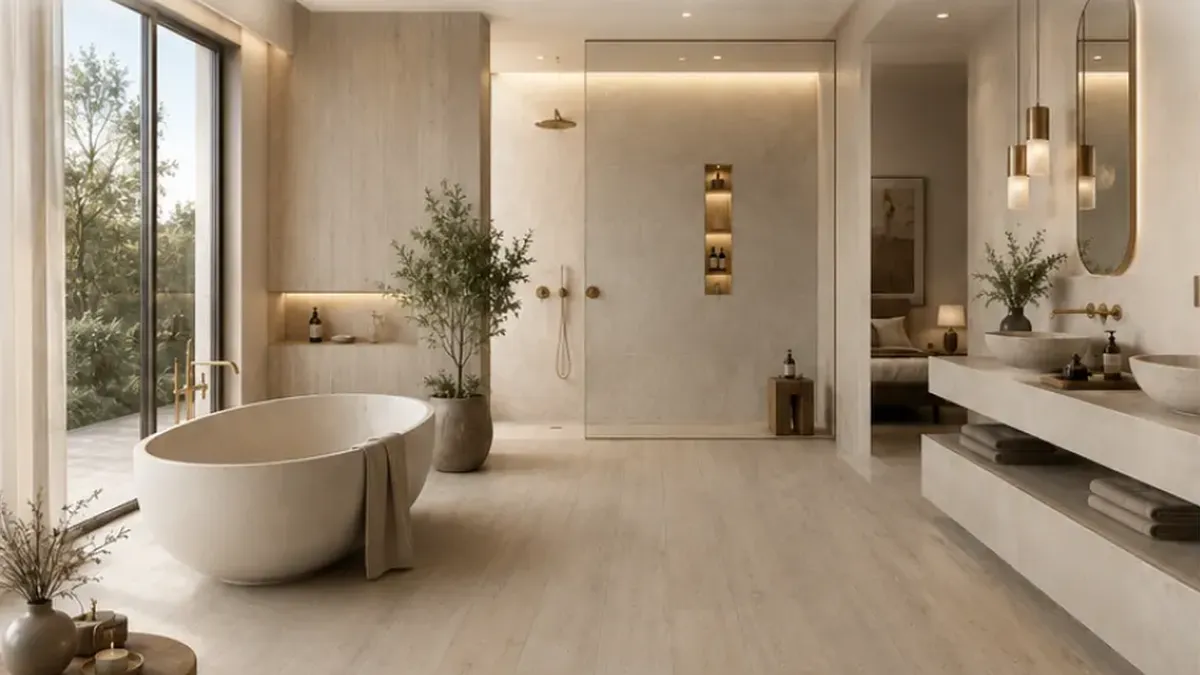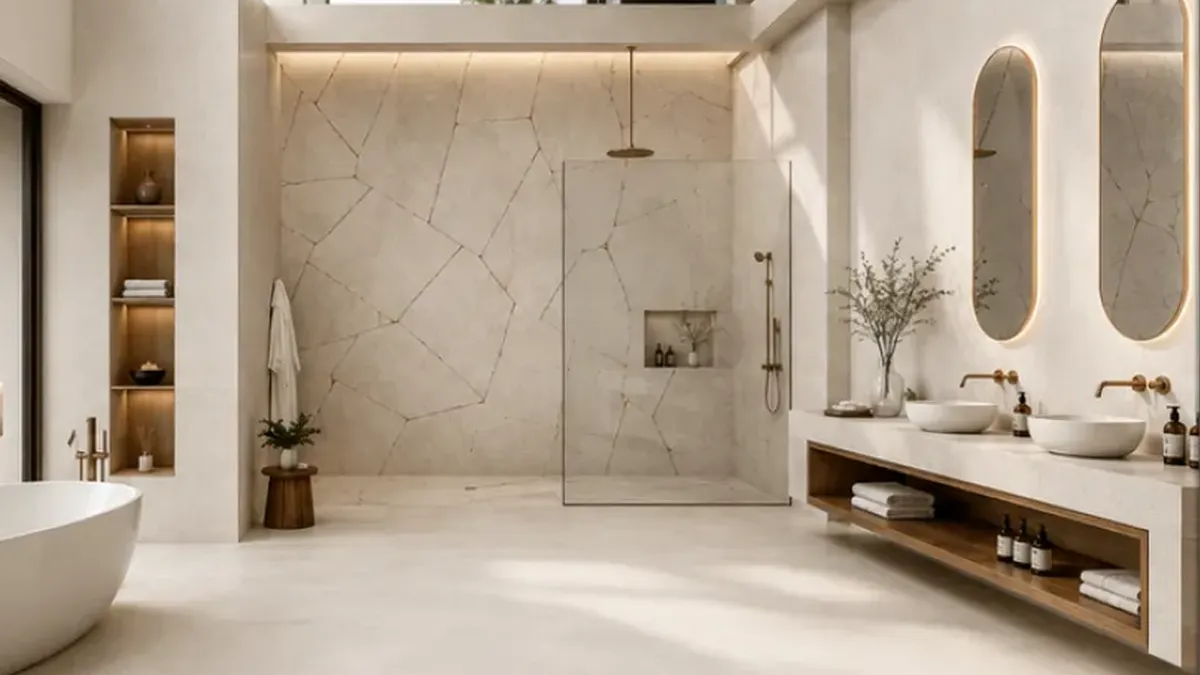
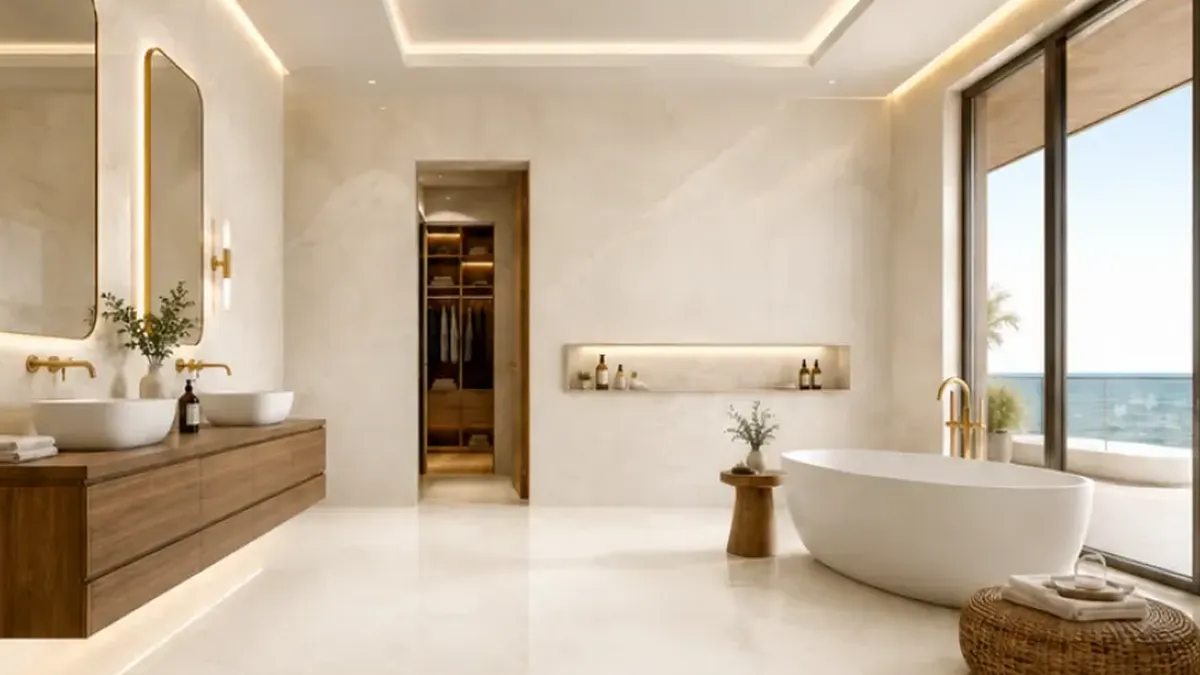
The best bathroom tile ideas treat the walls and floor as one scheme. Give the walls one lead material, such as a veined marble or a textured stone look, and choose a floor that shares its undertone but stays quieter. In a small room, wrap floor and walls in the same tile instead.
In this guide 10 sections
- Give the walls one lead material
- When one tile should wrap the whole room
- How do you pair bathroom floor and wall tiles?
- Texture belongs on one wall, lit from the side
- Format, direction and the grid
- What colour grout suits bathroom tiles?
- Where should bathroom tiling stop?
- Plan the niche with the tiles, not after them
- Bring the vanity into the scheme early
- Seeing the pairing before you commit
You have found a floor tile you love, and now the walls have to agree with it. These ten ideas are what make a bathroom look designed rather than assembled.
- A strongly veined marble look on the wall behind the bath, with a calm floor beneath it.
- One tile wrapped over the floor and every wall of a small en-suite or shower room.
- The same tile in two finishes: matt underfoot, a soft sheen on the walls to throw light back.
- A relief tile on the vanity wall only, lit from above so its shadows show.
- 600x1200mm wall tiles stacked in a straight grid over a 600x600mm floor, so joints run from floor to ceiling.
- Long tiles stood on end to lift a low loft ceiling, or laid flat to widen a narrow room.
- Grout matched to the tile's background on the walls, and a shade deeper on the floor.
- Tiling that stops on a line that means something: the ceiling, a ledge or a whole tile joint.
- A shower niche one tile wide, with its top and bottom sitting on joints.
- A mitred corner, or a slim metal trim in the brassware's finish, where a plastic edge would be.
The rest of this guide takes those ideas apart: why each works, where it fails, and what to decide first. Floors in their own right, from slip ratings to heating, have a separate guide to bathroom flooring ideas.
Give the walls one lead material
Every bathroom that looks resolved has one surface that leads and others that support it. Put the lead material on the wall you face as you walk in, usually behind the bath or the vanity, and let everything else step back in a plainer tile from the same colour family.
Try a simple test from the doorway. Ask what you notice first. If the honest answer is everything at once, the room has no lead, and adding one more beautiful tile will make it worse, not better.
The lead material is where sourcing matters. DDL began in 2011, when Dinesh Mathur set up a tile sourcing service for architects and interior designers, and we still buy from selected Spanish and Italian factories rather than from conventional stock. The most expressive marble and onyx looks earn their place in large formats, up to 1200x1200mm, where one piece can carry a whole sweep of veining that a small tile would chop into fragments.
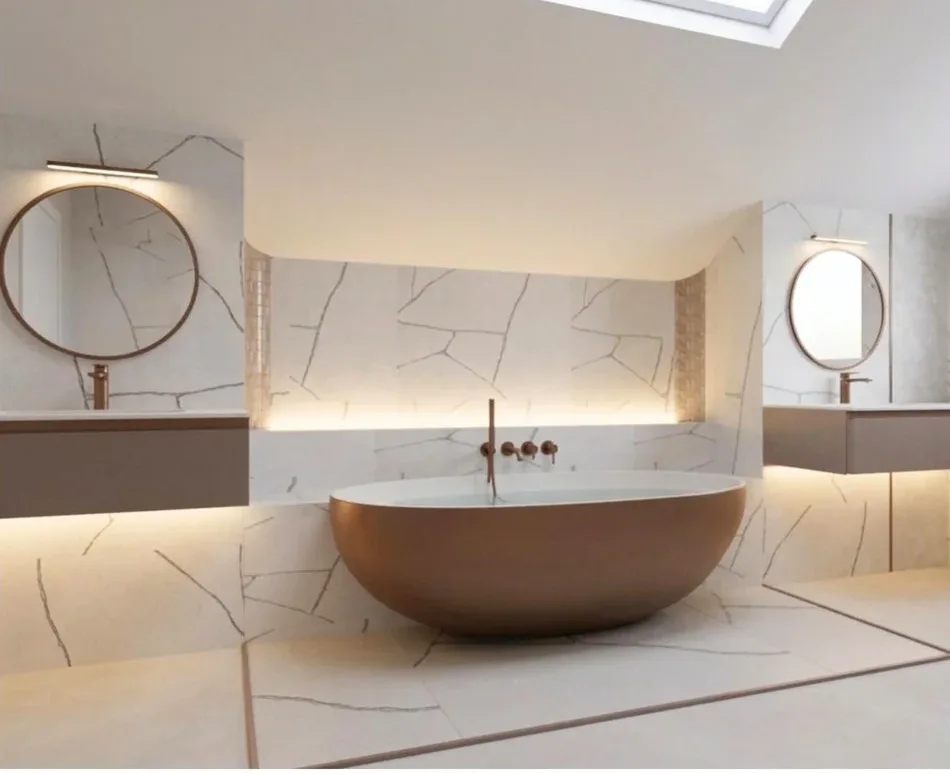
Our design for the Stanmore master en-suite shows how far a lead material can go. The walls carry a white marble look with bold, dark veining. The floor is a plain, pale tile, except beneath the freestanding bath, where a panel of the veined tile is set in and framed with a copper trim that picks up the bath and the brassware.
Two things stop it feeling busy. The veining is graphic but sparse, thin dark lines on a pale ground, so it reads as drawing rather than noise. And the floor gives the eye somewhere to rest. Wrap a dense, multicoloured marble over the same walls and floor and the room would feel restless within a week.
When one tile should wrap the whole room
In a small en-suite, a shower room or a loft bathroom, one tile on the floor and every wall usually beats any pairing. Each change of material is a line across the room, and in a small space those lines make it feel smaller.
The tile you wrap with should be quiet: a soft limestone look, a warm concrete look, or a marble look with fine, pale veining. The point is a room that feels carved from one material, which only works if the material does not shout.
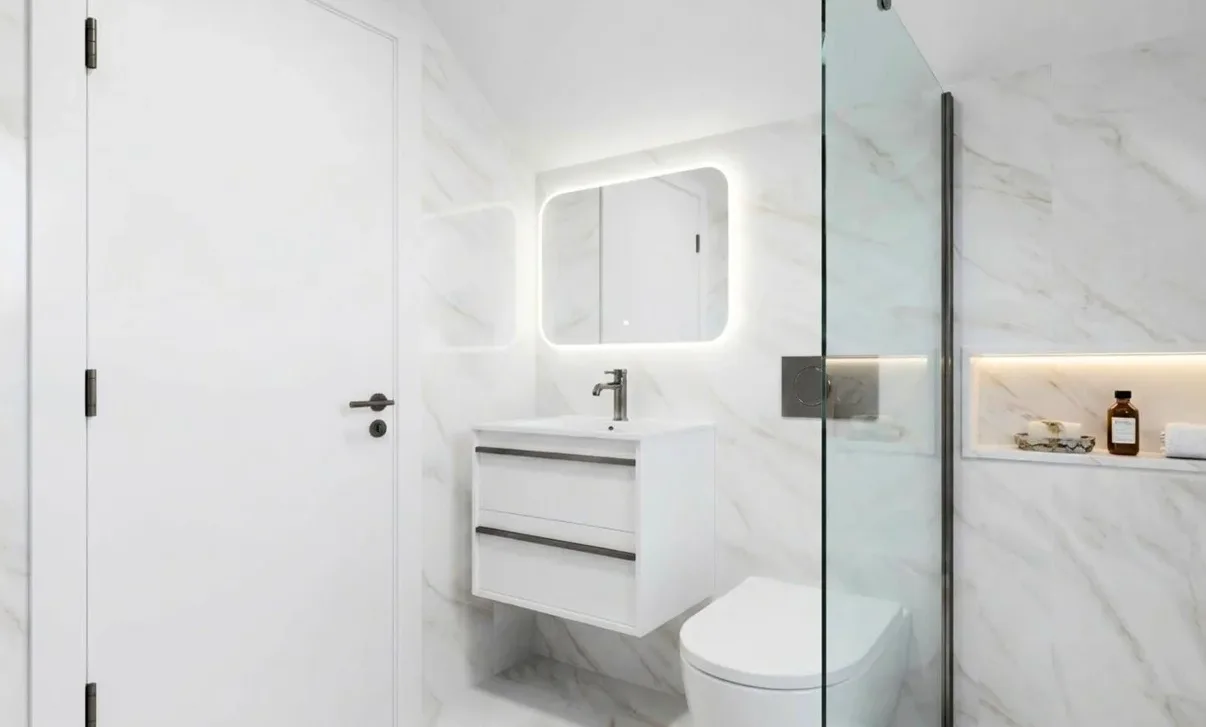
The guest bathroom in our Aldenham design does exactly this. A white marble look with soft grey and gold veining runs over the walls and the floor, the vanity is wall-hung and white, and the only accents are the dark metalwork and the warm light in the niche and behind the mirror. Nothing competes, so the room reads larger than its footprint.
Wrapping is the wrong call in one situation: a large principal bathroom with a statement material. There, one tile everywhere wastes the drama. Give the strong material one wall and let a calmer partner do the rest.
The pairing is much easier to judge in person than on a screen. At a complimentary showroom appointment a specialist will stand the wall tile and the floor tile side by side at full size, in real light. Bring a photo of the room and the square metres for the walls and the floor separately, because we quote from your quantities.
How do you pair bathroom floor and wall tiles?
Match the undertone first, then change only one thing between the floor and the walls: tone, finish or texture. Change two and the surfaces start arguing.
The classic mistake is two whites, or two greys, that disagree underneath. A warm ivory wall over a cool blue-grey floor looks wrong in daylight, even though each tile looked right on its own in a shop. The fix is to lay the samples next to each other by a window before anything is ordered.
Once the undertones agree, pick your one change. The same tile in two finishes is the safest: matt on the floor for grip, a soft sheen on the walls to bounce light, which our guide to matt vs polished tiles explains. A plain floor under a textured wall is the next most reliable. Whatever goes underfoot needs its own slip data, measured wet; HSE guidance treats a pendulum test value of 36 or above as low slip potential (HSE GEIS2).
Two patterns rarely live together. A veined marble look on the walls and a busy terrazzo look on the floor will compete for attention all day. One surface carries movement; the other keeps still.
Size matters as much as colour. When the floor and wall tiles share a module, the joints meet at the skirting line and the grid wraps the room.
| Room | Walls | Floor | Why it works |
|---|---|---|---|
| Small en-suite | 600x1200mm, stacked | 600x600mm, the same tile in matt | One material, joints aligned on a 600mm module |
| Family bathroom | 600x1200mm, a shade lighter | 600x600mm mid-tone stone look | A deeper floor grounds the room |
| Loft bathroom | 600x1200mm, laid vertically | 600x600mm, matt | Vertical joints lift a low ceiling |
| Principal bathroom | 600x1200mm plus one marble or onyx-look wall | 1200x1200mm | Few joints, and a quiet frame for the feature |
| Cloakroom | A dark stone look | The same dark stone look | A room used briefly can carry drama |
Texture belongs on one wall, lit from the side
A relief or three-dimensional tile is the most effective way to add depth without adding colour, and the easiest to overdo. Use it on one wall, and plan the light before you choose the tile.
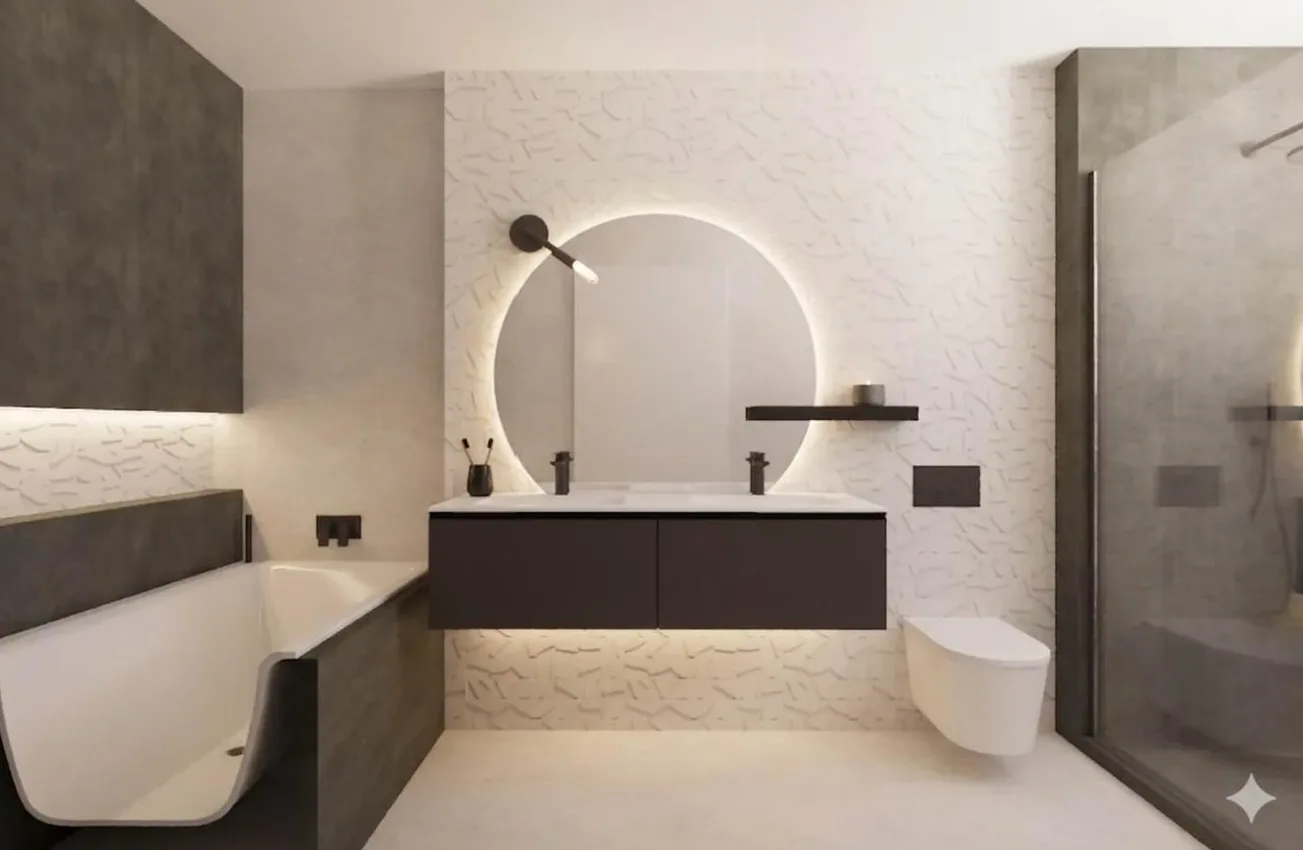
In the Aldenham master en-suite we put a white relief tile behind the vanity and in a band above the bath, then framed it with a dark grey stone look on the bath panel and in the shower. The floor is pale and plain. The detail that makes it work is the light: a strip under the wall-hung vanity and the glow behind the round mirror both graze across the relief, so every ridge throws a shadow.
Light from the front does the opposite. A ceiling downlight in the middle of the room flattens a relief tile until it looks like a plain one that cost more, so a textured wall needs a light source close to it and running along it.
The same thinking applies to each look. Marble looks carry their interest in the veining, so decide which way the veins should run and ask whether the range is book-matched. Onyx looks are at their best polished, on one wall, with light travelling across them. Concrete looks are the quietest of all, which makes them the natural partner for timber and for one dramatic material elsewhere.
Format, direction and the grid
On bathroom walls, 600x1200mm is the designer favourite, stacked in a straight grid with a matched grout. Fewer joints make a wall read as one surface rather than a pattern of lines, and that calm is what most people mean when they call a bathroom modern.
Direction follows the room's weakest proportion. Stand a long tile on end and it lifts a loft ceiling under a sloping roof; lay it flat and it pushes apart the walls of a narrow family bathroom with the bath across the end. If neither proportion is a problem, vertical usually looks more architectural.
Stacked joints look modern; a brick-style offset looks traditional and makes a wall busier. If you do offset, keep it short. Long porcelain tiles can carry a slight bow from firing, and a half offset exaggerates it, so manufacturers commonly advise no more than a third of the tile length. Check the guidance for your tile.
Smaller formats still have a job on walls. A curved wall, a tight window reveal or a shower bench all need a tile that can turn a corner without a dozen awkward cuts. For flatness, handling and slabs, the complete guide to large format tiles and slabs goes deeper.
What colour grout suits bathroom tiles?
Match the grout to the tile's background on the walls and go a shade deeper on the floor. Contrast it only when the grid itself is the design.
A contrasting grout turns every tile into a box, and on a marble or stone look it makes the joints the loudest thing in the room. Matched, the same wall reads as one sheet. On the floor, a slightly deeper grout absorbs the daily traffic; brilliant white floor grout looks crisp for about a fortnight and then shows every footprint.
Inside the shower, epoxy grout is worth specifying, because it resists staining far better than a cement grout. Rectified tiles, cut to exact dimensions after firing, allow a finer joint, which matters most on large marble looks. Choose the colour against the real tile at full size, never from a printed chart.
Where should bathroom tiling stop?
On a line that means something: the ceiling, a whole tile joint, or the height of a ledge or window sill. The shower and the walls around the bath are tiled fully; the question is everything else.
Floor to ceiling throughout is the cleanest answer, and it makes a room feel taller, provided the cut at the top is planned rather than left to the last row. One consistent height also works well, as long as it lines up with something real, such as the shelf over a concealed cistern, with paint above in a tone taken from the tile. And sometimes the best scheme tiles only the wet walls, in a material good enough to justify it: an onyx-look shower wall with plastered walls elsewhere can beat tiling every surface in a compromise.
Then look at the edges, because that is where quality shows. A mitred corner, where two tiles meet at a fine angle, looks like solid stone. A slim metal trim in the brassware's finish is a clean alternative. A plastic edge in a contrasting colour is not.
Plan the niche with the tiles, not after them
Size the niche to the tile grid, line it in a material chosen on purpose, and light it if you can. A niche cut in once the wall is built always looks like one.
On a wall of 600x1200mm tiles, a niche one tile wide, with its top and bottom on joints, needs no thin slivers around it. With a marble look, the veining can carry into the recess so the niche looks carved from the wall; a deliberate contrast, such as a darker stone look, works too. Avoid a slightly different white, which reads as a mismatch rather than a choice.
One long niche across the shower usually looks better than two small ones. It draws a strong horizontal line, can carry a strip of light under its top edge, and its base should be drawn with a slight fall so water does not sit.
Bring the vanity into the scheme early
The vanity is the largest object in most bathrooms, and its timber, stone or lacquer has an undertone of its own. Choose it with the tiles, not after them.
Since 2024 we have offered bespoke Italian vanity units, sized to the wall and finished to sit with the tile rather than fight it. Whatever you choose, bring a sample of the timber, the worktop and the brassware finish to the showroom. A warm walnut beside a cool grey stone look is a mismatch you will see every morning; caught early, it costs nothing to fix.
Seeing the pairing before you commit
A bathroom tile scheme works when the walls and floor are chosen together: one lead material, undertones that agree, one change between surfaces, and joints and edges that land on purpose. None of that can be judged properly on a phone screen, because a 1200mm piece of veined marble look behaves differently at full size and in daylight. For what is lasting and what is fading, see our bathroom and tile trends guide.
Book a complimentary showroom appointment in Watford, open seven days a week by appointment, and a specialist will have wall and floor pairings ready for your room. If you want the whole room designed, the bathroom design appointment is £400 + VAT per bathroom, deducted from your order when it exceeds £5,000 + VAT. DDL designs and specifies; your installer works from the written specification. Design usually takes around two to four weeks, so a scheme started now can be drawn up before Christmas.
Sources
- HSE, Assessing the slip resistance of flooring (GEIS2): a pendulum test value of 36 and above indicates low slip potential.
- BS EN 14411, the European standard for ceramic tiles, which classes porcelain as group BIa.