The best media wall ideas make the screen less dominant: a fire as the centrepiece, a single stone-look panel, joinery that closes over the television. Plan it from the sofa, keep the centre of the screen near seated eye level, and fix the fire, cables and lighting before anything is built.
In this guide 11 sections
- Eight media wall ideas worth shortlisting
- Making each idea work in a real room
- Size the wall to the room, then the screen
- Electric or real fire?
- The panel behind the screen
- Cables, consoles and the remote that stops working
- Light it warm, then check the reflections
- Closed storage, fewer shelves
- Choosing the finishes
- What does a media wall cost?
- What makes a media wall look cheap?
Most media walls begin with a photograph: a fire under a big screen, fluted timber, a line of warm light. Then the real room has its say. The chimney breast sits a little off-centre, the sofa faces the window rather than the wall, and in an older house the two alcoves are often a few centimetres apart in width, which nobody notices until a pair of matching cupboards has been ordered.
Eight media wall ideas worth shortlisting
- Make the fire the centrepiece of the chimney breast and move the screen to an alcove.
- Hide the screen behind pocket doors, so the wall reads as joinery when the television is off.
- Set one large-format stone-look panel behind the screen and keep the joinery either side plain.
- Mirror two book-matched marble-look tiles about the centre line of a symmetrical wall.
- Hang the cabinets off the floor, with a soft line of light in the shadow gap beneath.
- Use deep timber fluting on one element only.
- Run a long, low linear fire through a plinth that spans the width of the wall.
- Design the asymmetry: tall display on one side, a low run on the other, in a room that is lopsided anyway.
Two popular details are worth leaving off the list. Colour-changing LED strips and printed or foil-wrapped slatted panels are the first things everyone copies, which is exactly why they date fastest.
Making each idea work in a real room
The fire as the centrepiece
If the room has a chimney breast and you want a real fire, let the fire win. A screen hung over a gas fire or a stove ends up too high for comfortable viewing and sits in rising heat and soot, so the better arrangement puts the television in an alcove, or behind doors that close when the fire is lit. The screen is the part you will replace in a few years; the fireplace and the joinery around it stay, so they deserve the middle of the wall.
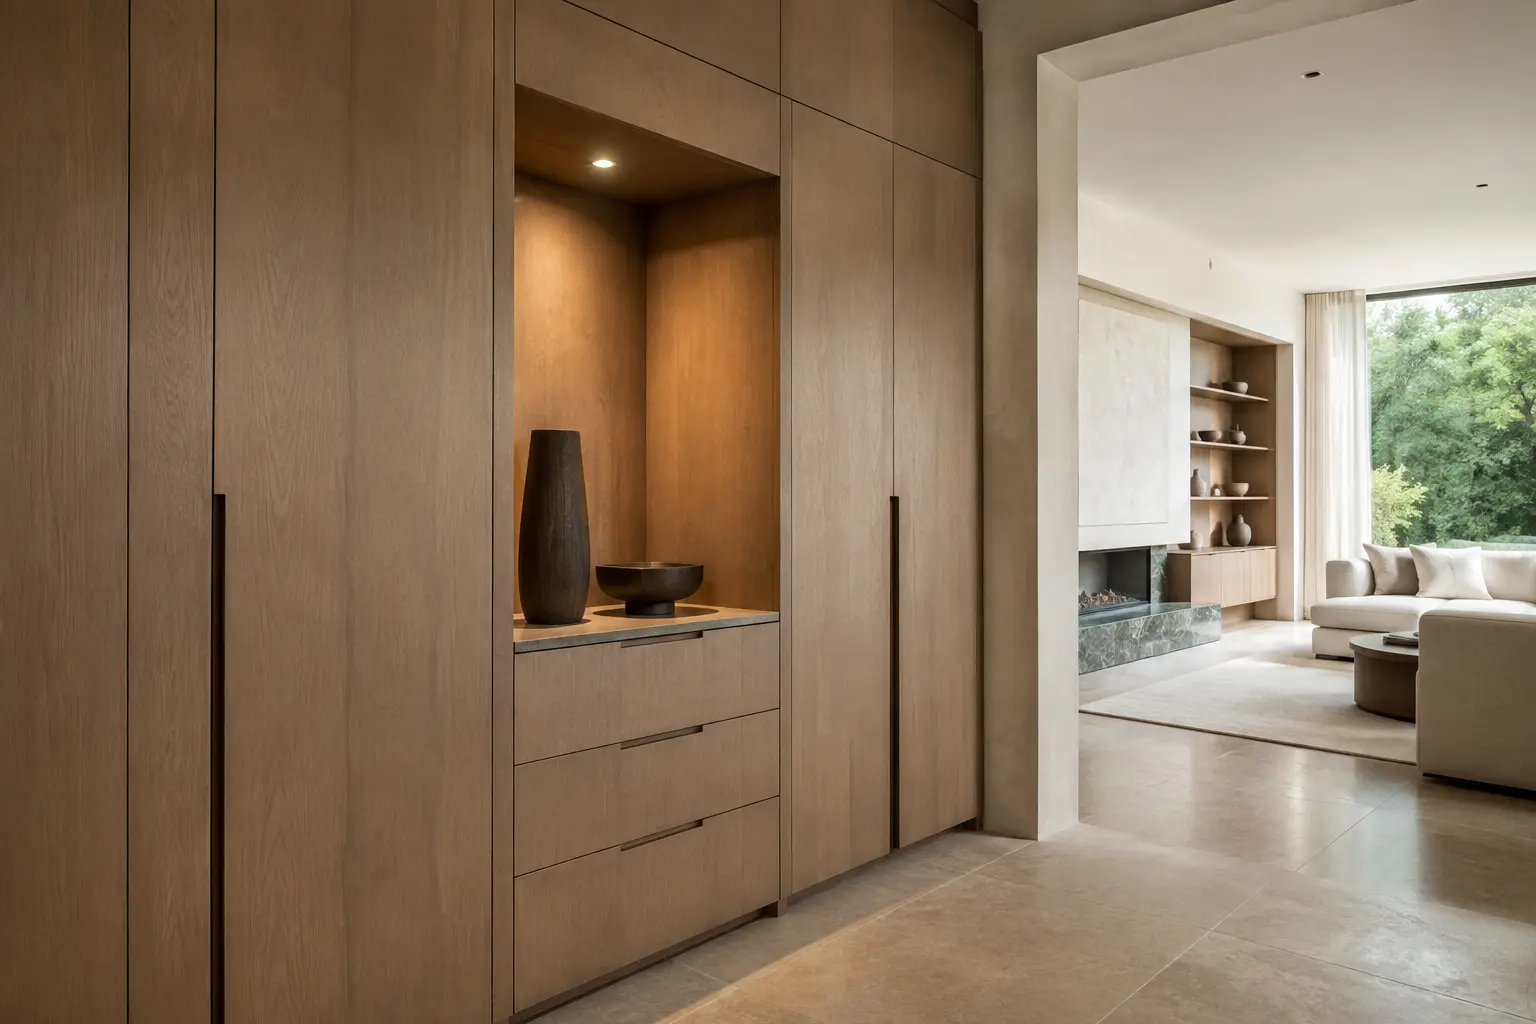
The screen that disappears
Pocket doors slide back into the joinery on each side, so the cabinet has to be deep enough to take them and wide enough to hide them. In return, the wall reads as furniture for most of the day. The idea suits a living room used for conversation as much as for films, and it is worth the lost depth only where the room can spare it.
One panel, plain joinery
A single large-format or book-matched stone-look panel behind the screen gives the wall weight without clutter. Keep the joinery either side quiet, in one timber or one painted colour, and let the veining do the work. Large formats keep the joints to a minimum so the pattern can run across the whole panel; our guide to large format tiles and slabs sets out the sizes and what each one asks of the wall.
Floating joinery, and fluting with real depth
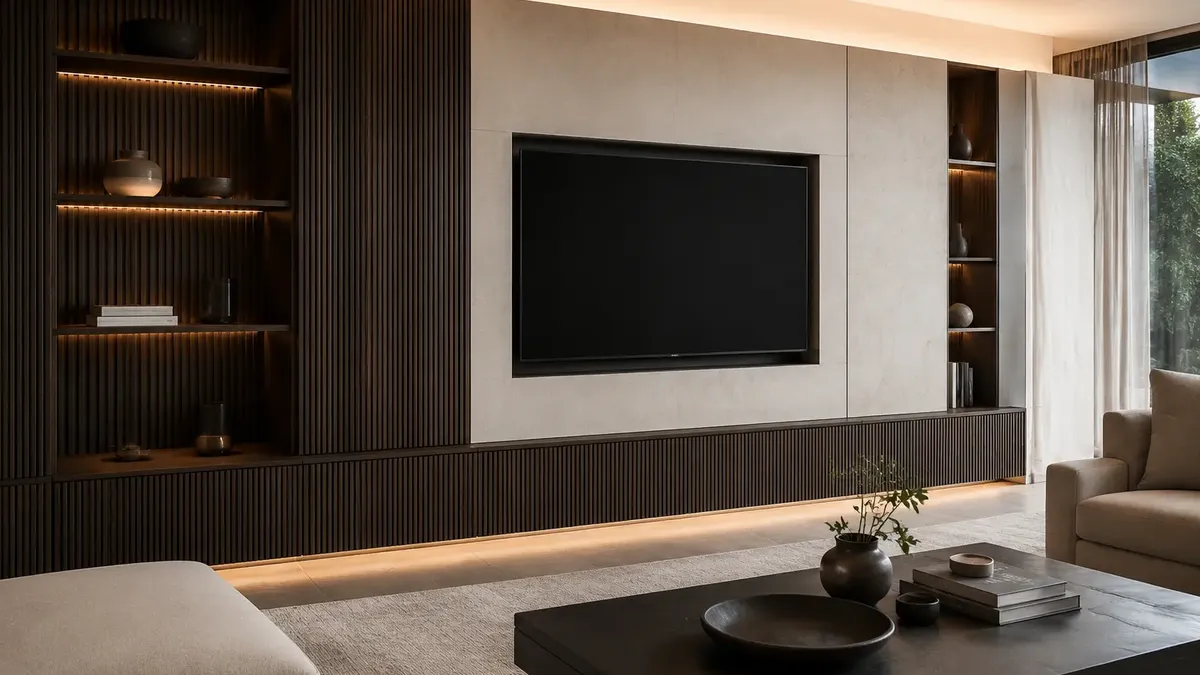
Wall-hung units, or units on a recessed plinth, show more floor and make the whole wall feel lighter. Fluting looks expensive only when it is deep, evenly spaced and properly returned at the ends, so the shadow lines read from across the room. Shallow grooves, wrapped panels and strips stuck onto plaster with their cut ends showing do the opposite.
Asymmetry on purpose
When one alcove has to hold a radiator or a meter, stop trying to make both sides match. A tall display unit on one side and a low run on the other looks deliberate. Two nearly identical cupboards of slightly different widths look like a mistake.
Size the wall to the room, then the screen
In a room with a chimney breast, the breast is already your frame. Keep the screen inside it with a clear margin of wall each side, so the breast still reads as architecture rather than as a bracket for the television. If the screen you want is wider than the breast can hold, rethink the wall instead of stretching it.
Without a chimney breast, as in most extensions, the media wall is built forward on a stud frame. That frame is useful, because it hides cables, takes an inset electric fire and makes room for recessed shelves, but every centimetre it projects comes off the room, and a full-width, full-height wall in a modest living room can feel like a cliff face. A central section brought forward, with lower joinery either side, gives depth without the weight.
Take the heights from lines the room already has: the picture rail, the window heads, the tops of the doors. If there is a cornice, decide early whether the joinery stops short of it or the cornice returns around the new work. Period alcoves are rarely square, so good joinery is scribed to the walls and set out to look balanced even where the openings are not.
Electric or real fire?
Choose the fire before anyone draws the joinery. The two types lead to very different walls.
An electric fire is the flexible choice. It needs no flue, so it can sit wherever the design wants it, including low in a long plinth. Most inset models still need a set depth behind the wall, space to vent and a power supply, and some push warm air out of the top, which matters when a screen or a timber shelf sits above. See the actual model running before you commit; flame effects vary far more than photographs suggest.
A gas, wood-burning or multi-fuel fire brings rules with it. Hearths, flues, air supply and the distance to anything combustible are covered by Building Regulations Approved Document J, gas appliances must be fitted by an engineer on the Gas Safe Register, and HETAS lists registered installers for solid fuel. Choose the appliance, confirm what the manufacturer and the regulations require with your installer or building control, and only then let the joinery be drawn around the answer.
If the fire is getting a tiled surround and hearth, our fireplace tile ideas cover the hearth, the setting-out and what each type of fire asks of the tile.
The panel behind the screen
The panel behind the screen decides whether the whole wall looks expensive, and it is the part of a media wall closest to what DDL has done since Dinesh Mathur founded the business in 2011: finding the right surface. You choose it at full size, from large-format porcelain sourced from selected Spanish and Italian factories, standing beside the floor tile it has to live with. A 1200x1200mm piece seen upright in real light tells you more about veining, finish and colour than any screen can.
The joinery is then drawn around that panel, in the same way DDL's bathroom work sizes a vanity to its wall and lines a niche up with the tile setting-out. A media wall applies the same thinking to a living room.
A Bespoke Interiors design moves through four steps. First comes a conversation about the room, what the wall has to hold, the budget and the timescale. A design direction then fixes the layout, the proportions and the finishes, and that direction is developed into a detailed furniture specification you can review and have quoted. Last, the selections are coordinated with the floor and the surfaces around them, so the wall belongs to the room instead of looking added to it. DDL designs and specifies; your installer works from the written specification.
Porcelain will not burn, which matters beside a fire, although the board, adhesive and fixings behind it still have to suit the appliance. The panel is also the most predictable cost on the wall: DDL's published cost guide puts premium porcelain, marble-effect and stone-effect ranges at typically £60 to £200+ per m² supply-only, and a panel behind a screen covers only a few square metres.
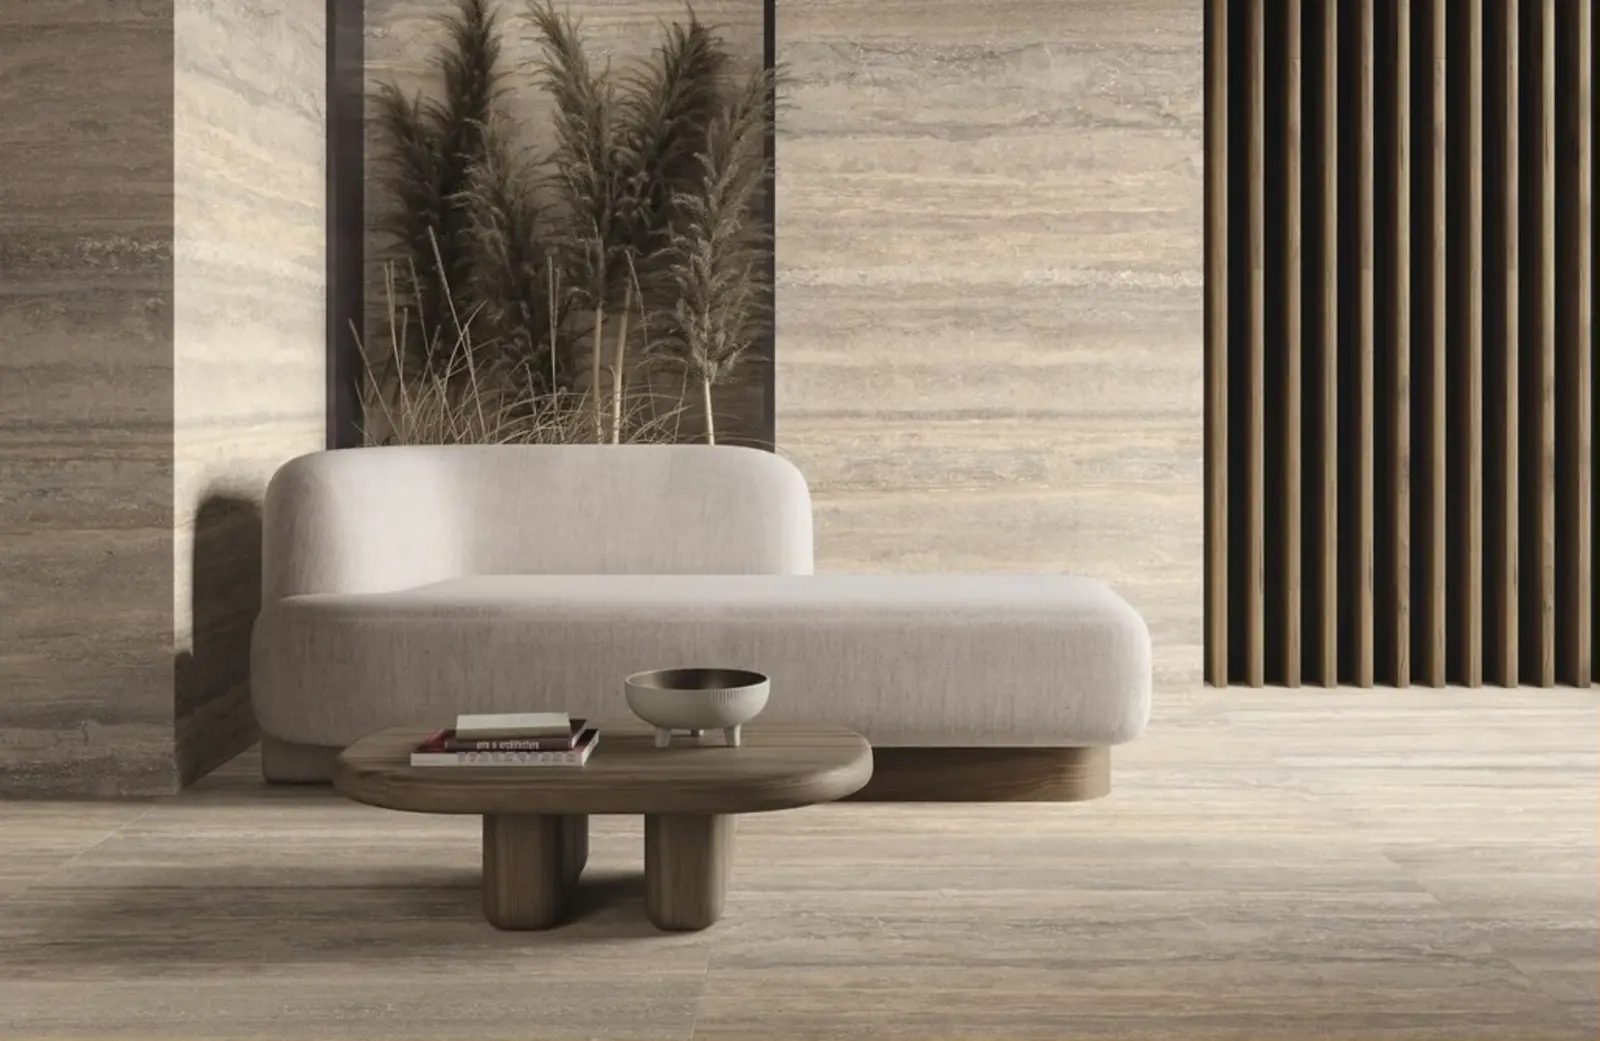
To judge a panel, stand next to it. A complimentary showroom appointment puts stone, marble and onyx looks in front of you at full size, beside the floor you are planning; bring photographs of the whole wall, its rough dimensions and the square metres of any floor you would like quoted.
Cables, consoles and the remote that stops working
Every cable decision belongs before the plaster. Once the wall is boarded or panelled, each change means opening it up again.
- Run a wide conduit from the screen to the equipment cupboard, not just the cables, so the next connection standard can be pulled through without touching the wall.
- Put sockets behind the screen, inside the equipment cupboard and on any shelf where a lamp or speaker will sit.
- Wire the network. Streaming is steadier over a cable.
- Decide where the sound comes from: a soundbar needs a shelf at the right height and an opening that does not muffle it, and built-in speakers need grilles designed into the joinery from the start.
Consoles, streaming boxes and amplifiers belong in a cupboard close to the screen rather than on an open shelf under it, and that cupboard has to breathe. A games console shut behind solid doors runs hot, so give it an open back to a ventilated void, slots in the plinth and top, or a quiet fan. Solid doors also block infrared remotes, which is easy to forget until the first evening the wall is in use. Plan a repeater, a remote that needs no line of sight, or door fronts in fine mesh or tinted glass, and give the controllers a charging drawer so they stop living on the coffee table.
Electrical work in a home falls under Approved Document P, with the wiring itself to BS 7671. Your electrician needs the agreed drawing before first fix, because a socket moved after plastering means a hole in a finished wall.
Light it warm, then check the reflections
Layer the light and put it on dimmers, and the same wall works for a late film and for friends round on a Saturday. Concealed LED in the shelves lights the objects and gives the joinery depth. A wash from above or below grazes a textured surface such as a stone-look panel or timber fluting, and a low light behind the screen, known as bias lighting, softens the contrast between a bright picture and a dark wall.
Use LED strip in a diffused profile, so you see a line of light rather than a row of dots. Keep the colour warm and consistent; 2700K to 3000K is the usual range in a living room. Give the wall its own circuit or lighting scene.
Then look for reflections. A downlight bouncing off a black screen towards the sofa is a mistake you notice every evening for years, and on the drawing it takes a minute to move.
Closed storage, fewer shelves
Open shelves look generous in photographs because somebody styled them. In a family living room they collect remotes, chargers and school letters. Keep the lower half of the wall closed, give open display to the upper shelves and the alcoves, and if you do not own enough objects you love to fill the shelves, have fewer shelves. Before the design stage, write down what the wall must hold, from consoles and records to board games, and what guests should and should not see. That list shapes the interior more than any mood board.
Choosing the finishes
One main joinery finish and, at most, one feature material.
| Material | Best for | Watch for |
|---|---|---|
| Oak or walnut veneer | Warm alcove joinery and fluted fronts | A near match with a wood floor |
| Factory-sprayed paint | Joinery that blends into the wall colour | Site-brushed paint chips on busy doors |
| Stone-look porcelain | A panel behind the screen or around a fire | Board and adhesive must suit any fire |
| Natural stone | Hearths and surrounds with real variation | Weight, sealing and staining |
| Tinted glass or mirror | Small display recesses | Reflections facing the screen |
Two oaks that nearly match look worse than two that clearly differ, so choose a veneer against the floor rather than from a sample on its own. A factory-sprayed paint finish stands up to daily use far better than paint brushed on site, and it can either sit quietly in the wall colour or contrast and become furniture. On a tiled floor, set out the tiles so a joint or a tile centre lines up with the centre of the wall; on a herringbone floor, centre the pattern on the chimney breast.
What does a media wall cost?
Four things set the price. The first is the joinery: how much of it there is, how it is built and what it is finished in. The second is the fire, because a gas or solid-fuel appliance brings a flue, a hearth and a registered installer, while an inset electric fire is mostly a question of the unit and its supply. Then come the electrical, data and lighting work, and finally the feature panel, which is the easiest line to predict.
Fixed-price media wall packages exist, and they suit a straightforward wall in a regular room. A designed wall earns its cost where the room is irregular, the fire is real or the list of things to store is long. DDL prices each media wall from the agreed design, so the quote describes your room rather than a standard package.
What makes a media wall look cheap?
- The television is too high. Above a tall fire or a deep mantel, the centre of the screen rarely sits near seated eye level, and the result is a sore neck and a top-heavy room; lower the fire, lose the mantel or move one of them.
- The wall was built before the furniture plan. The sofa decides where the screen goes, so plan the seating, the viewing distance, the windows that cause glare and the route through the room first.
- Cables and sockets on show.
- Too many ideas on one wall. A fire, fluting, a stone panel, open shelves, colour-changing light and a large screen is six features competing for the same few metres, so pick the hero and let everything else support it.
The useful first step is to see the materials together. Book a complimentary showroom appointment and bring photographs of the whole room, its rough dimensions and a list of what the wall must store, display or hide. When you are ready to have the wall drawn, the Bespoke Interiors appointment is the next step, at £400 + VAT, deducted from your subsequent order when that order exceeds £5,000 + VAT.
Sources
- Approved Document J: combustion appliances and fuel storage systems, GOV.UK
- Approved Document P: electrical safety in dwellings, GOV.UK, with BS 7671 (the IET Wiring Regulations)
- Gas Safe Register: the official register of gas engineers
- HETAS: registered installers of solid-fuel and wood-burning appliances