An accessible bathroom rests on five decisions: a level shower floor, tiles that grip when wet, clear space to turn and transfer, walls strong enough for rails, and good contrast and light. Make them while the room is stripped back and none of them has to look clinical. The person, not a diagram, sets the dimensions.
In this guide 11 sections
- Five decisions that make a bathroom accessible
- Inside the Stanmore accessible bathroom
- How much space does an accessible bathroom need?
- Level access starts below the tiles
- Which slip rating should the floor have?
- Rails: plan the wall now, fit the rail when it is needed
- How do contrast and light help someone with low vision?
- Fittings that do more of the work
- Does Approved Document M apply to your bathroom?
- Future-proofing a bathroom nobody needs adapted yet
- Where to start
Accessible bathrooms are often planned in a hurry. A parent is coming home from hospital, a diagnosis has changed the plans, or a fall has made the bath unusable overnight. The quick fix is a room that looks like equipment: safe enough, and a daily reminder of why it was built.
Given a little time, the result is very different, because the decisions that make a bathroom safe for changing needs are the same ones that make it feel generous: a level floor, calm surfaces, warm and even light, nothing to step over. Whether the room is for a parent moving in or for your own later years, the work is the same, and it costs far less to do once than to do twice.
Five decisions that make a bathroom accessible
Everything else, from the tap style to the colour of the grout, sits on top of these. Get them right and the room looks like any other well-designed bathroom in the house.
- A level floor. No tray, lip or threshold between the bathroom and the shower, and a doorway wide enough for a chair or a frame.
- Grip where it is wet, from a floor tile with a published slip test result.
- Clear floor to turn around in, with space beside the WC for the way the user moves onto it.
- Solid walls behind the tiles wherever a rail or a seat might one day be fixed, even if that day is ten years away.
- Contrast and even light, so the edge of a basin, a rail or the WC seat can be seen at a glance.
One note on terms. Much of what turns up online about "ADA bathrooms" is American, and the Americans with Disabilities Act does not apply here. In England the reference point is Approved Document M of the Building Regulations, which comes up again when we get to space.
Inside the Stanmore accessible bathroom
Stanmore was a four-bathroom design for one home: a master en-suite, a guest bathroom, a cloakroom and an accessible bathroom. Our portfolio sums up the approach to the last of these in one line: accessible planning treated with the same material care and visual balance as the main suites. It shares the consistent material language of the other three rooms rather than having a separate, plainer palette of its own.
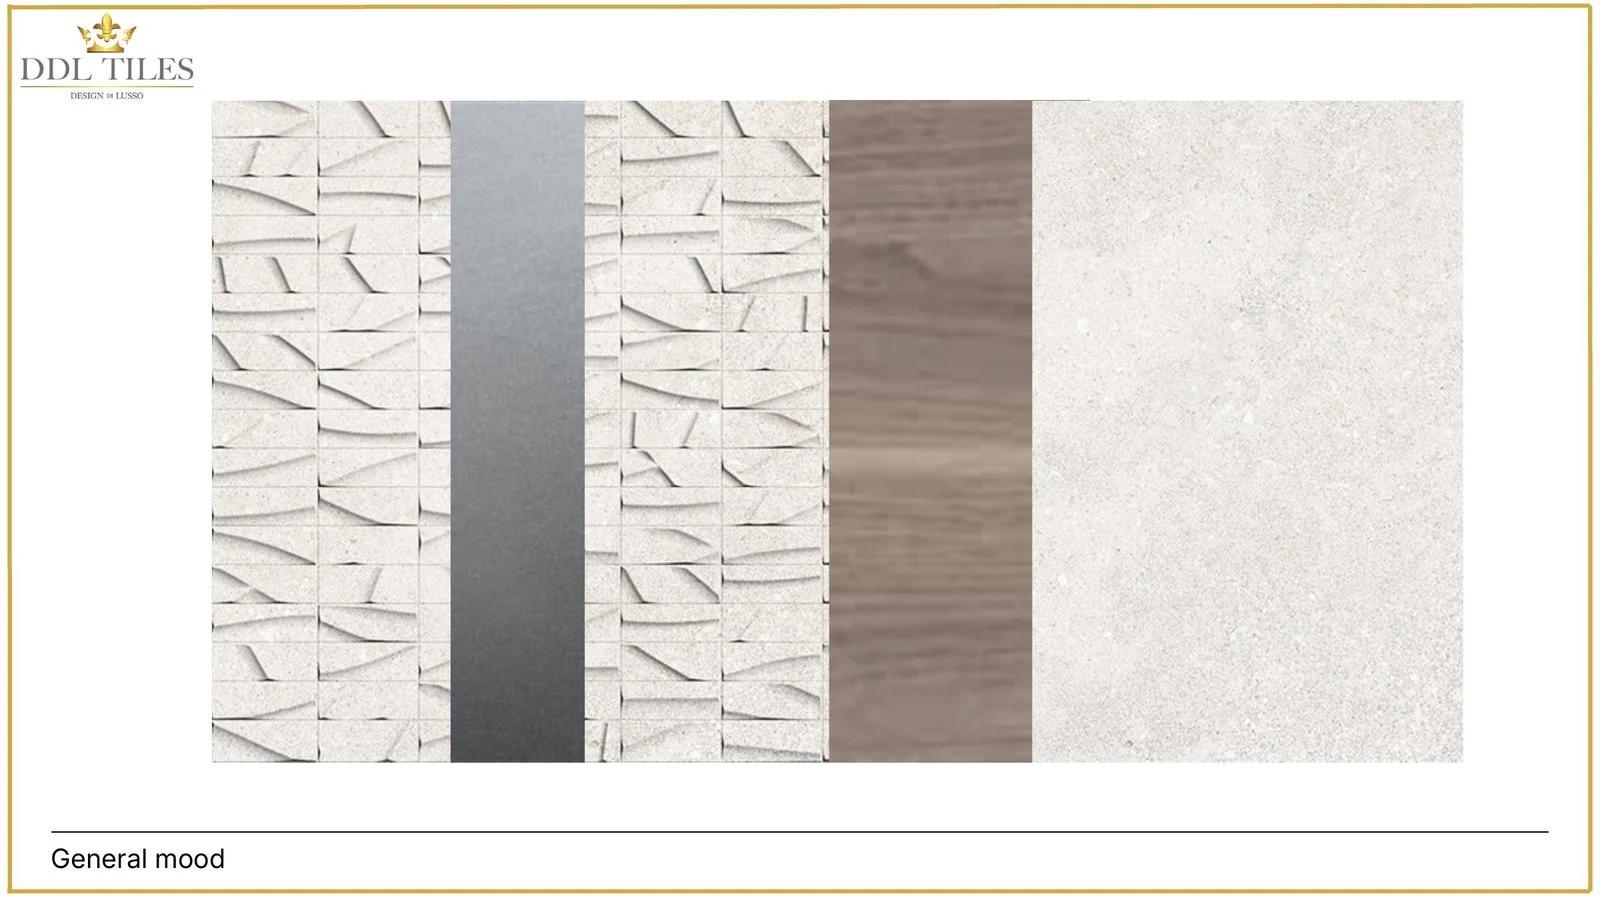
The mood board shows where the warmth comes from: a sculpted ivory wall tile, a mid-toned timber, brushed metal and a pale stone-look surface. There is nothing on that board you would hesitate to put in a master en-suite.
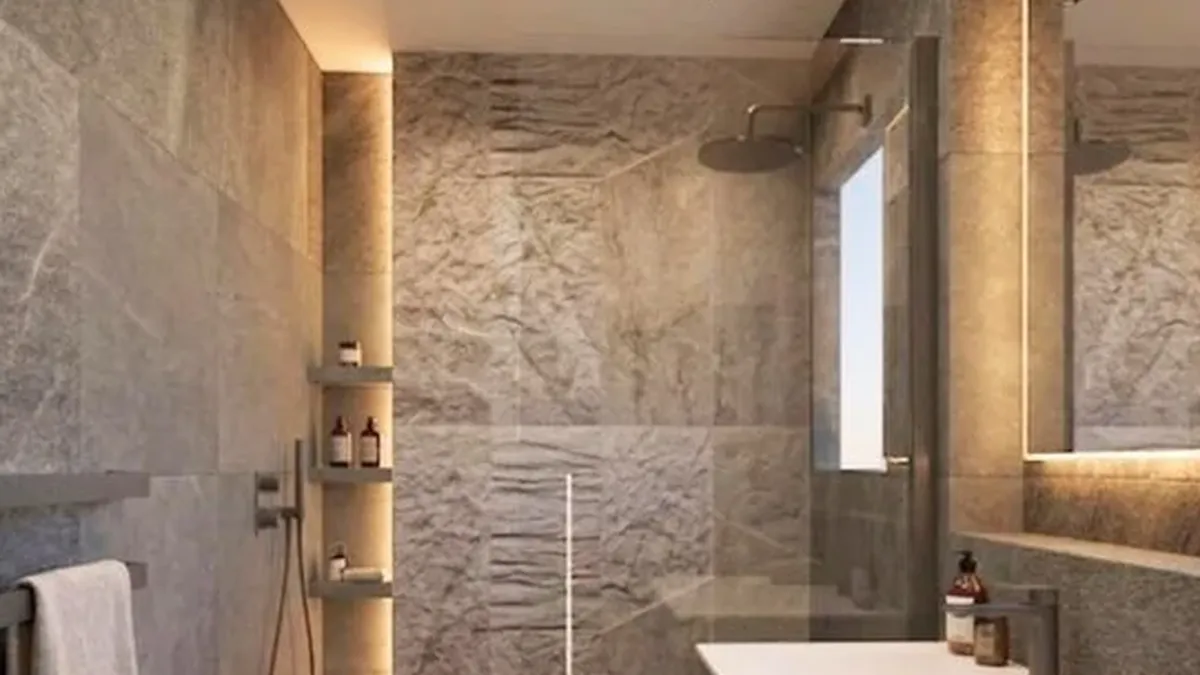
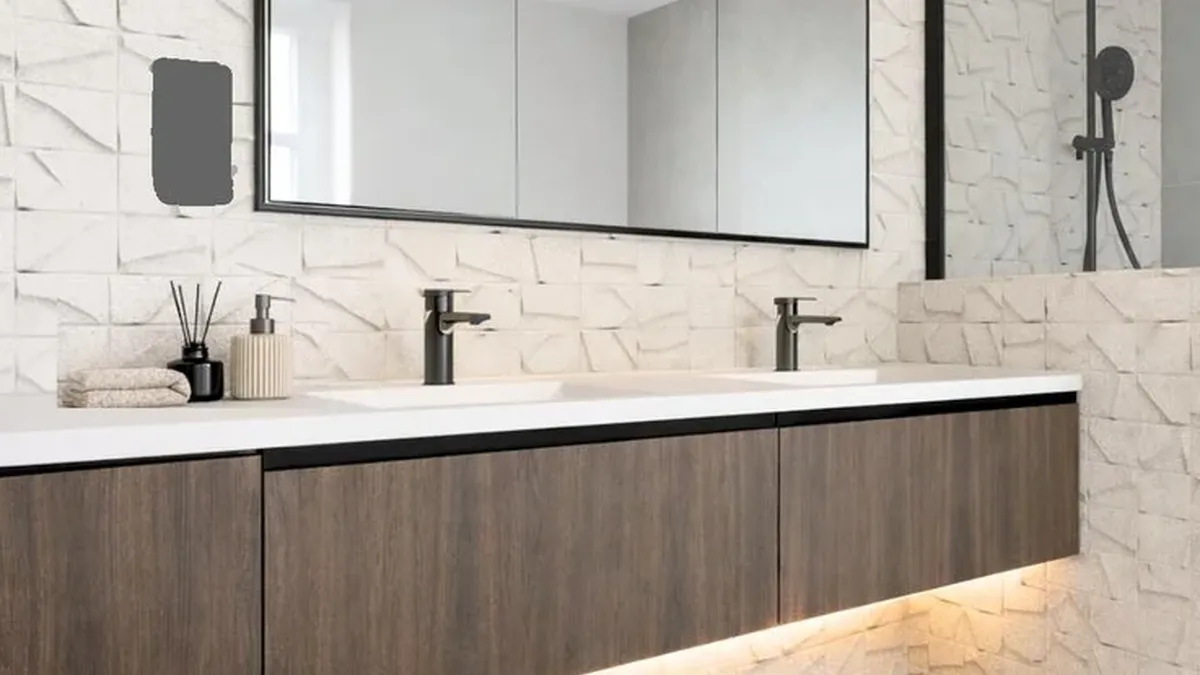
DDL's 3D visual of the room shows how those materials meet. The same pale floor tile runs from the vanity into the shower behind a glass panel, with no tray to step over. Matt black taps and a black hand shower stand out clearly against the textured ivory wall, and a line of light glows beneath the wall-hung timber vanity.
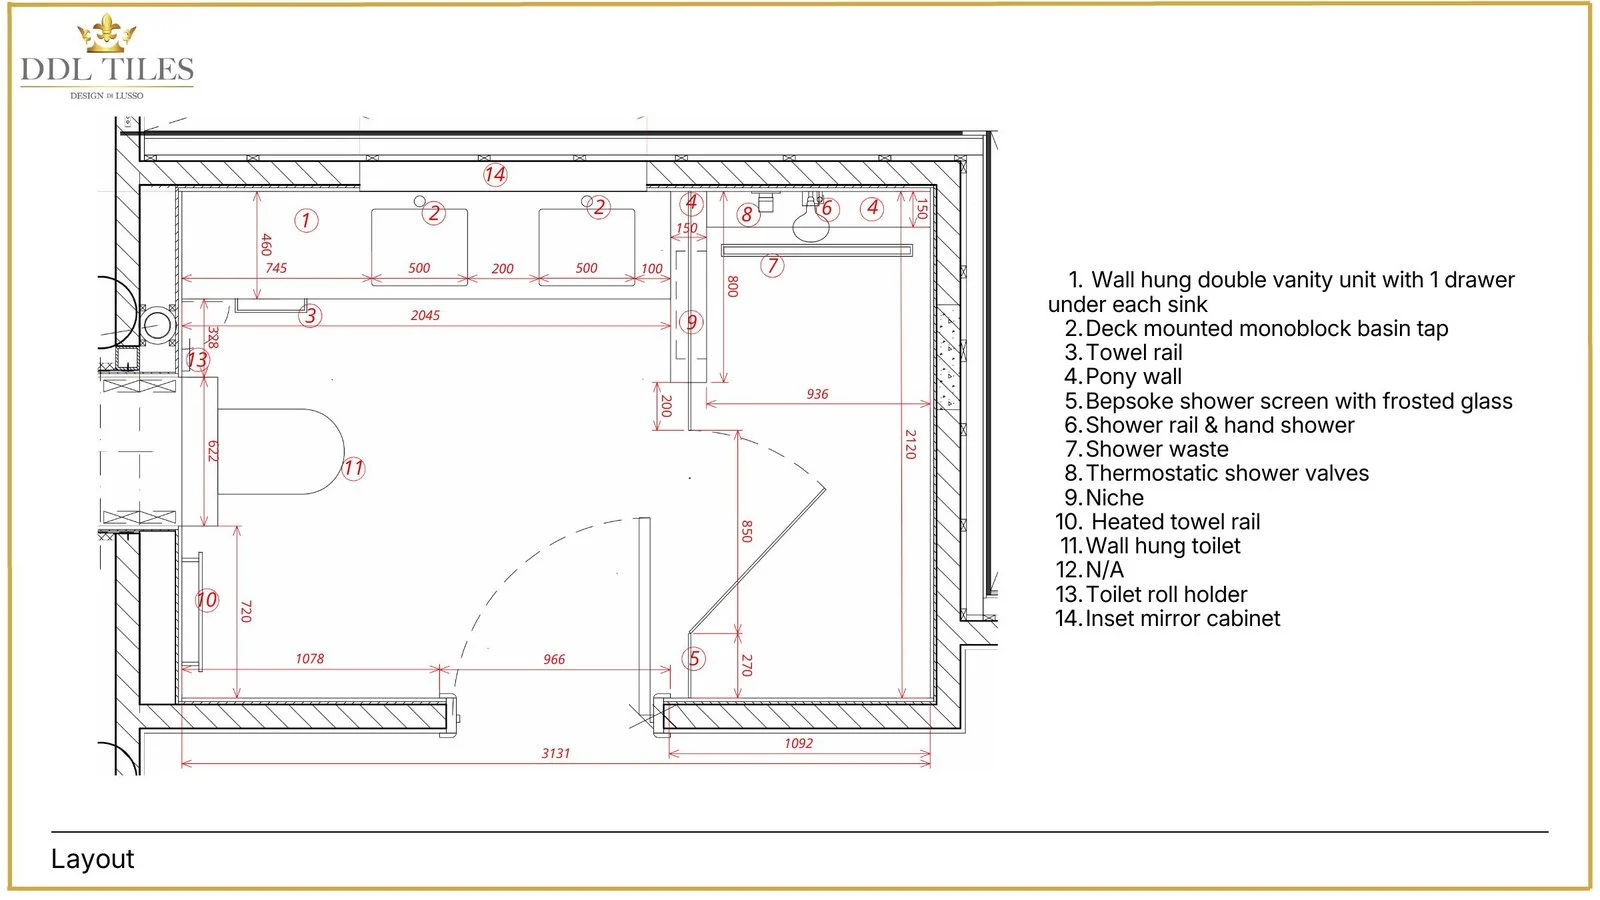
The layout sheet is where the practical thinking sits. Every element is dimensioned and numbered: a wall-hung double vanity with one drawer under each basin, a wall-hung WC, thermostatic shower valves, a hand shower on a rail, a niche, and a linear shower waste along the back wall of the shower. Most of those choices come up again below, because they are the ones that let a room adapt without looking adapted. All four rooms are on the Stanmore project page.
To see this kind of palette in person, book a complimentary showroom appointment. A specialist will set matt porcelain floor tiles beside textured wall tiles, show large formats up to 1200x1200mm at full size in real light, and you can ask for the slip test result of anything you shortlist. Bring the square metres for each area and a few photos of the room as it is now.
How much space does an accessible bathroom need?
The person sets the space, not the room. What matters is the chair they use, or may use later, how they move onto the WC, and whether someone helps them. An occupational therapist assesses exactly those things, and the plan should be drawn around that assessment rather than around a generic diagram.
For a published reference, Approved Document M sets out an optional standard for new homes built for wheelchair users, known as M4(3). As general guidance, it plans for a clear turning circle of 1500mm in the bathroom and doors with a clear opening of at least 850mm. Confirm those figures against the current edition of Approved Document M and with your occupational therapist before they go on a drawing. Someone who walks with a frame needs a different room from someone who propels a wide chair, and a carer needs space of their own.
Plan around how the user transfers
Most wheelchair users move from the chair onto the WC. Some go across sideways, some from the front, and some need a carer or a hoist. The method shapes the whole plan: a sideways transfer needs clear floor beside the pan, and a carer needs room to stand alongside without blocking the chair. Ask how the person transfers before a single product is chosen.
Clear floor matters more than square metres. A large bathroom crowded with a freestanding bath, a pedestal basin and a radiator can be harder to use than a modest one. Draw the turning circle and the transfer zone on a scaled plan first, and you will see at once whether a layout works.
If a ceiling hoist might be needed one day, say so at the start. The ceiling has to carry it, and that is simple to arrange while the ceiling is open and awkward afterwards.
Level access starts below the tiles
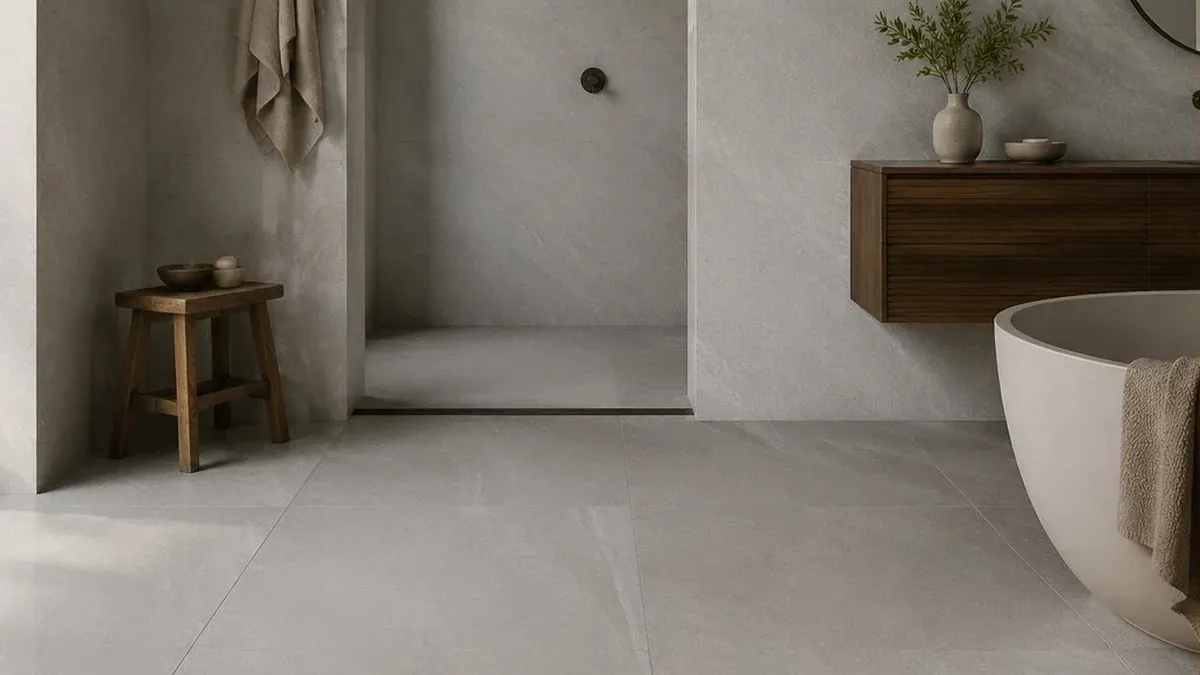
The step into the shower is the biggest obstacle in any bathroom, and removing it is mostly invisible work. A wet-room floor runs from the doorway to the drain with no tray, no lip and no threshold, so nothing catches a wheel, a walking frame or tired feet.
Underneath, the floor falls gently towards the drain, and the whole area is waterproofed before a tile goes down. On a timber floor that often means recessing a pre-formed base between the joists; on concrete it can mean breaking out part of the screed. How far the floor can drop depends on the structure, which is why it is settled before anything is ordered. DDL designs and specifies; your installer works from the written specification.
The drain decides how the floor looks. A linear drain against the wall, like the one on the Stanmore sheet, lets the floor fall in one direction, so large-format tiles can run across the shower with very few cuts. A centre drain needs falls in four directions and usually a smaller tile in the shower zone, whose extra grout lines add a little grip. Our wet room design and tiling guide covers the build-up layer by layer.
Which way should the door open?
Outwards, or sliding. If someone falls against an inward-opening door, nobody can get in without forcing it. Widening the opening is also far easier during a renovation, with the walls already disturbed, than as a separate job later.
Which slip rating should the floor have?
Choose a matt or lightly textured porcelain with a published slip test, and look at how it was tested. The HSE treats a pendulum test value (PTV) of 36 or above as low slip potential (HSE, GEIS2). Ask for the wet result, because wet is the condition that matters in a bathroom.
You will also see R ratings, from R9 to R13. They come from a ramp test walked in shoes (DIN 51130). Most people are barefoot in a bathroom, so ask too for the barefoot class from DIN 51097: A, B or C, where C grips best. For most homes, R10 to R11 across the main floor, with more grip in the shower zone, is a sensible range.
Grip is a balance, though. A very coarse surface holds well but traps soap, takes more cleaning and is unkind to anyone who kneels to help. Run a wet hand over a sample before you decide, and keep polished tiles for the walls. Our comparison of matt and polished tiles explains where each finish belongs.
Rails: plan the wall now, fit the rail when it is needed
Where a rail goes is a decision for an occupational therapist, not a catalogue. The design's job is to make sure the wall can take one in the right place, whether that is next month or in ten years.
That means reinforcement: solid timber or plywood fixed between the studs, or a reinforced board, behind the tiles around the WC, the shower and the basin. The cost is small while the walls are open. Without it, a rail added later goes into plasterboard, where it can pull away, or wherever a stud happens to fall, which is rarely where the hand needs it.
Two details make rails look intended. Mark the reinforced zones on the elevation drawings and set the tile layout so that fixings land within whole tiles, not on a thin cut. Then choose rails in the same finish as the taps and shower valve. A rail that matches the brassware belongs to the scheme; a white plastic one looks like an afterthought, however well it is fixed.
How do contrast and light help someone with low vision?
Contrast shows the eye where one surface ends and the next begins. For someone with low vision, a white basin on a white wall above a white floor becomes one pale blur, and that blur is where knocks and falls happen.
Designers measure it with light reflectance value (LRV), a scale from 0 for black to 100 for pure white. What counts is the difference between neighbouring surfaces: floor against wall, rail against wall, seat against pan. Published guidance, such as BS 8300, commonly asks for a difference of at least 30 LRV points between them, so ask for the LRV of the actual products rather than judging by eye.
Contrast does not mean loud colour. Warm stone on the floor with paler walls is a tonal contrast, and the black taps against Stanmore's ivory wall tile are the same idea at the scale of a fitting. Be wary of strong veining or busy pattern underfoot, though. For someone whose depth perception has changed, a bold vein in a floor tile can look like a step or a spill.
Older eyes need far more light to see the same detail, so plan generous, even lighting on dimmers and wash the walls rather than pointing downlights at the floor. A gloss floor under bright downlights throws glare that disorientates as much as darkness does. Light the face at the mirror from the sides. Add a low strip of light under the vanity, as in the Stanmore visual, and put it on a sensor so a trip at night never needs the ceiling lights. The bathroom zones in BS 7671 govern where each fitting can sit, so the lighting plan is drawn with them in mind from the start.
Fittings that do more of the work
Wall-hung pieces, lever controls and a thermostatic valve. Each one lets the user do more without help, and none of them looks like special equipment.
A wall-hung basin or vanity
Mounting the basin on the wall leaves space underneath for knees and footplates, so it can be used seated, and the height can be set for the person who uses it most. We have offered bespoke Italian vanity units since 2024, which means a vanity can be made to the exact width and depth a wall allows instead of the nearest catalogue size. Shallow drawers within reach, like the single drawer under each Stanmore basin, beat a deep cupboard at floor level. Choose lever or sensor taps that work with a closed hand.
A shower seat
A fold-down seat lifts out of the way when nobody needs it and gives real independence to anyone who tires standing. It has to be fixed into reinforced wall, with the controls and handset reachable from the seat. A tiled bench built into the wall is the alternative: it looks architectural, doubles as a ledge, and suits a bathroom several people share.
Either way, fit a handset on a slide rail rather than a fixed head alone, so the user can wash sitting down. A thermostatic valve holds the water temperature steady and guards against scalding.
A wall-hung WC
A wall-hung WC on a concealed frame can be set at the seat height that suits the user, and the floor beneath stays clear to clean. Put the flush plate where it can be reached from the seat. Some families add a shower toilet with a warm-water wash, which supports both independence and privacy.
Does Approved Document M apply to your bathroom?
Usually not to a refit inside an existing house, but often to new homes and sometimes to extensions or conversions. Ask building control what applies to your project before the design is fixed.
Approved Document M is the Building Regulations guidance in England on access to and use of buildings. For homes it includes accessible and adaptable dwellings, M4(2), and wheelchair user dwellings, M4(3), which apply to new homes where the planning permission requires them. For a bathroom designed around one person, use it as a reference point and never as a substitute for an assessment of that person.
Future-proofing a bathroom nobody needs adapted yet
Make the expensive, invisible decisions once, and leave the visible ones until they are needed. If nobody needs a rail today, do not fit one. With the reinforcement in place, it goes on in an afternoon.
- Floor: build the shower as a level wet-room floor now, even if it spends a decade as a generous walk-in shower.
- Walls: reinforce every zone where a rail or seat might go, and keep a drawing or a photograph showing exactly where.
- Doorway: widen it, and fit an outward-opening or sliding door while the walls are open.
- Off the floor: basin, vanity and WC, each at a height you can revisit.
- Power: a spare supply near the WC makes a shower toilet or extra lighting an easy addition later.
- Warmth:underfloor heating under tiles dries a wet-room floor faster and is kinder to bare feet.
Done this way, guests and any future buyer see a well-planned walk-in shower bathroom, while the accessibility sits in the bones of the room. For the wider decisions on layout, budget and specification, see our complete guide to luxury bathroom design.
Where to start
Start with the person. If there is a specific need, that means an occupational therapist's assessment; if there is not yet, it means an honest conversation about how the household might live in twenty years. Then come and see the surfaces. At a complimentary showroom appointment we will put floor, wall and brassware finishes side by side, so you can judge grip, contrast and warmth together rather than one sample at a time.
If you want the whole room drawn, the bathroom design appointment is the next step: layout, 3D visuals, elevations, lighting guidance and a full specification, for £400 + VAT per bathroom, deducted from your subsequent order when that order exceeds £5,000 + VAT. Design usually takes two to four weeks, so a scheme started now can be drawn up before Christmas.
Sources
- Approved Document M: access to and use of buildings (GOV.UK), including the M4(2) and M4(3) dwelling standards
- HSE GEIS2: Assessing the slip resistance of flooring (a PTV of 36 and above indicates low slip potential)
- HSE: slips and trips guidance
- DIN 51130: ramp test for slip resistance in shoes, classes R9 to R13
- DIN 51097: barefoot ramp test for wet areas, classes A, B and C
- BS 8300: design of an accessible and inclusive built environment, including visual contrast (LRV)
- BS 7671: Requirements for Electrical Installations (IET Wiring Regulations), including bathroom zones